We had an unfortunate failure of a snow here overnight. What was forecasted as 4-8 inches in our area barely squeaked out 2 in our yard. As is tradition here for snow days, and sunny days, and cloudy days, and just about any combination of days you can imagine, I turned it into a baking day. On my Facebook post I wrote, “When weather disappoints or delights, just bake.”
My mom uses the best homemade doughnut recipe ever. We have made them frequently for Sadie Rose fundraisers, often making as many as 1,000 at a time. When you mix, roll, fry, glaze all by hand, that takes a tremendous amount of team work!
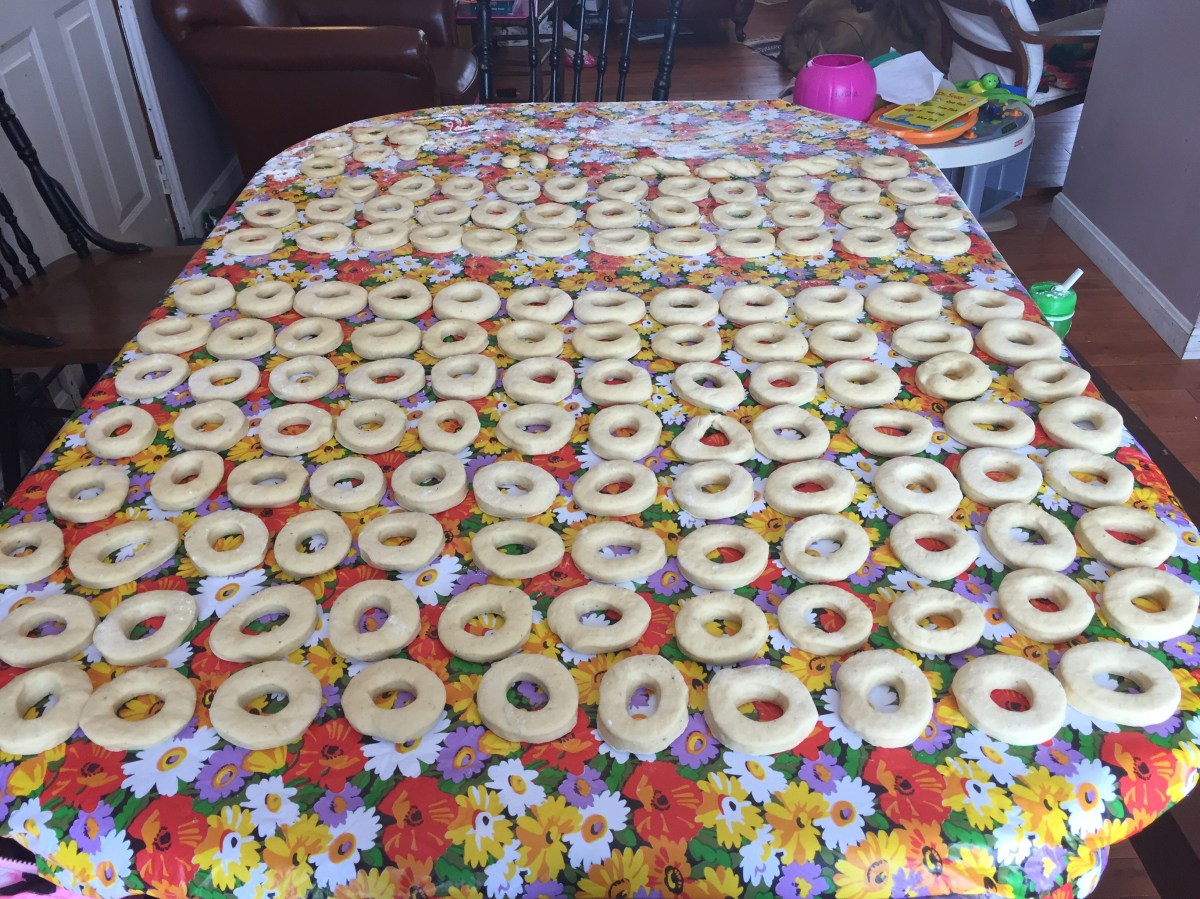
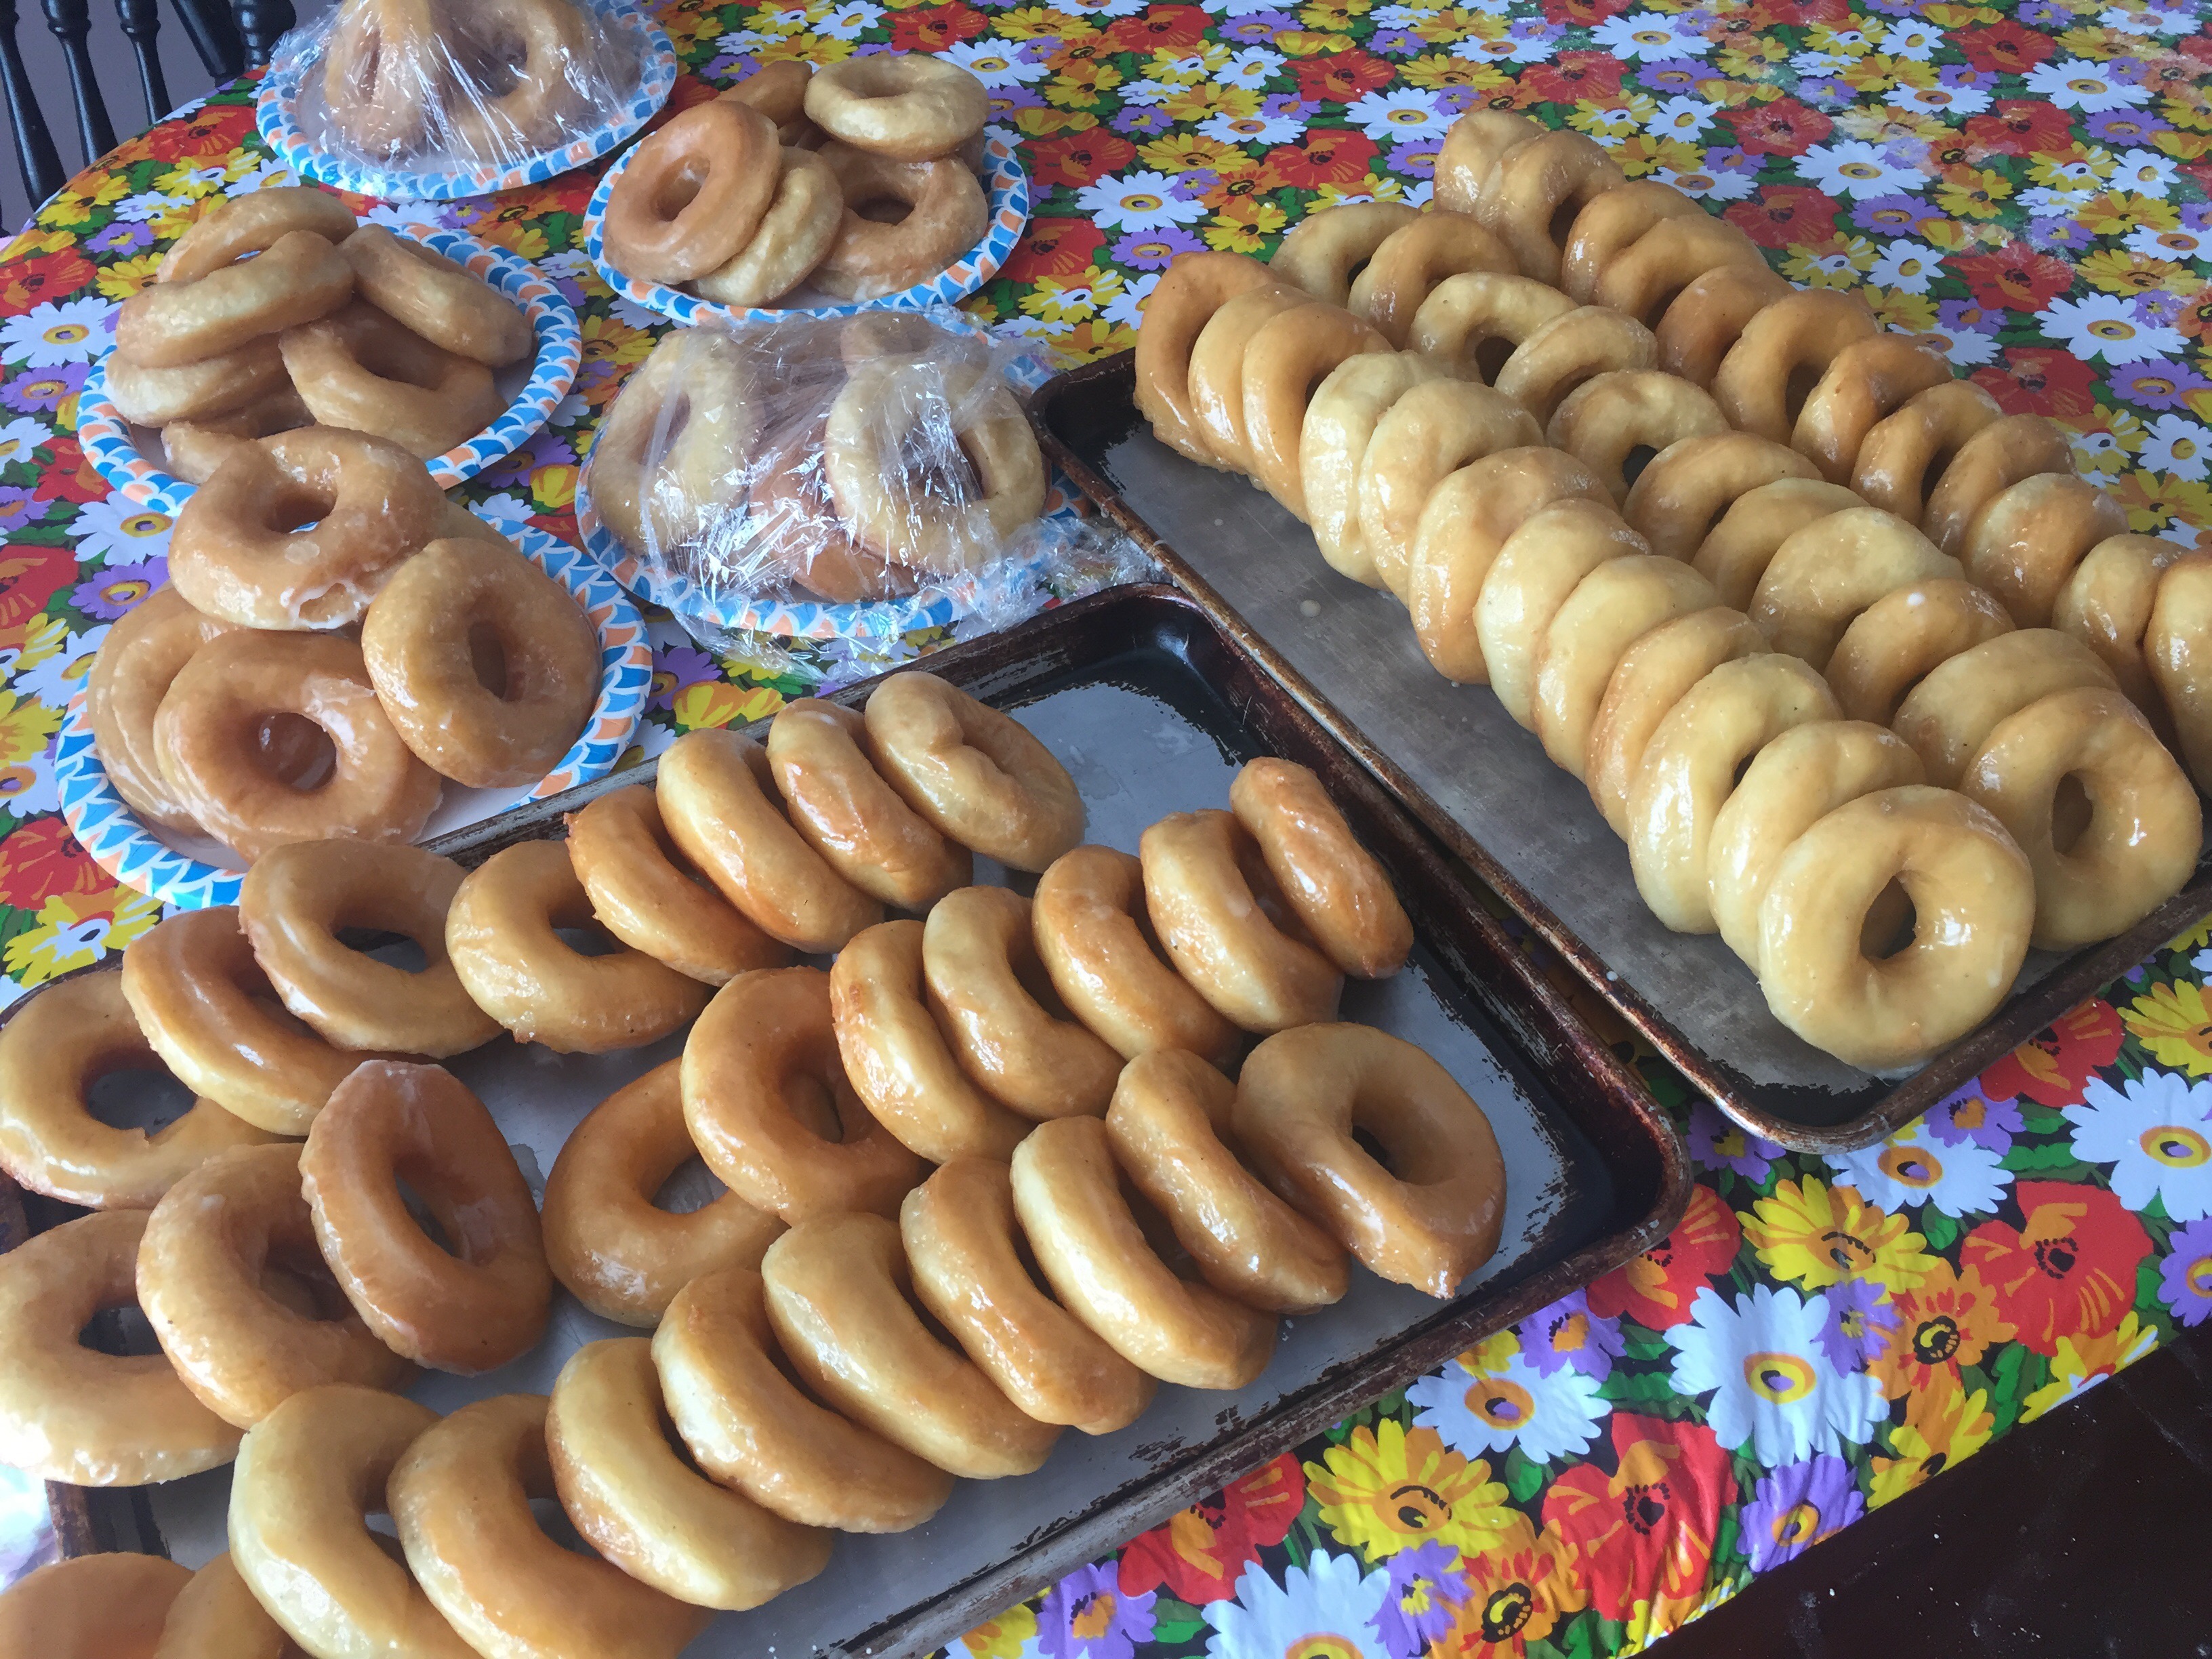
For the first time ever, I made one batch all by myself. 134 doughnuts, to be exact! I mixed, rolled, fried, glazed, every blessed one. But the real delight was delivering them to unsuspecting neighbors, surprising the maintenance guys who had been out in their snow plows all night, stopping the mail truck in the street, and running some out to the UPS delivery man who looked a little worried when I yelled, “Wait up! I’ve got something for you,” and our 100-pound Anatolian/Chocolate lab mix was at the door barking like he was going to eat the poor guy. He was happy it was doughnuts I handed him, instead of unleashing a barking dog.

Here’s the big scary boy. 😁
Our 8-year-old son learned the same lesson I did when I was about his age. Too many of mom’s homemade doughnuts on an empty stomach doesn’t sit well. 🤢😷
Several people asked me for the recipe so I will include it here. Several things first though, usually I encourage people to try new things in their baking endeavors, but honestly, I’ve been baking since I was a little girl and this was one of the hardest things I’ve done on my own. Try to get at least one other adult to help with the process. Also, if you are not familiar with yeast dough, this is not a recipe to start with.
Something else to consider; there is absolutely no redeeming value to the nutrition quality of the pastries. Not one. If you are a clean-eating purist these are not for you. For having them only once or twice a year, I don’t worry too much about it, but these certainly wouldn’t be on the healthy incentives poster.
This recipe is not original to my mom, but she is well-known in our small community for turning out the best doughnuts around. She made these for Country Village Bakeshop for a number of years. The mashed potatoes are the secret key ingredient and the spices and flavorings all marry with them to make the most moist, spongy, dreamy, delights you could ever imagine. Many have asked our family if we would start a doughnut shop, but we’ve never felt that to be our calling.
All that being said. Here’s the recipe in one of my Mennonite family cookbooks. I’d love to know if you try these and how they turn out for you!
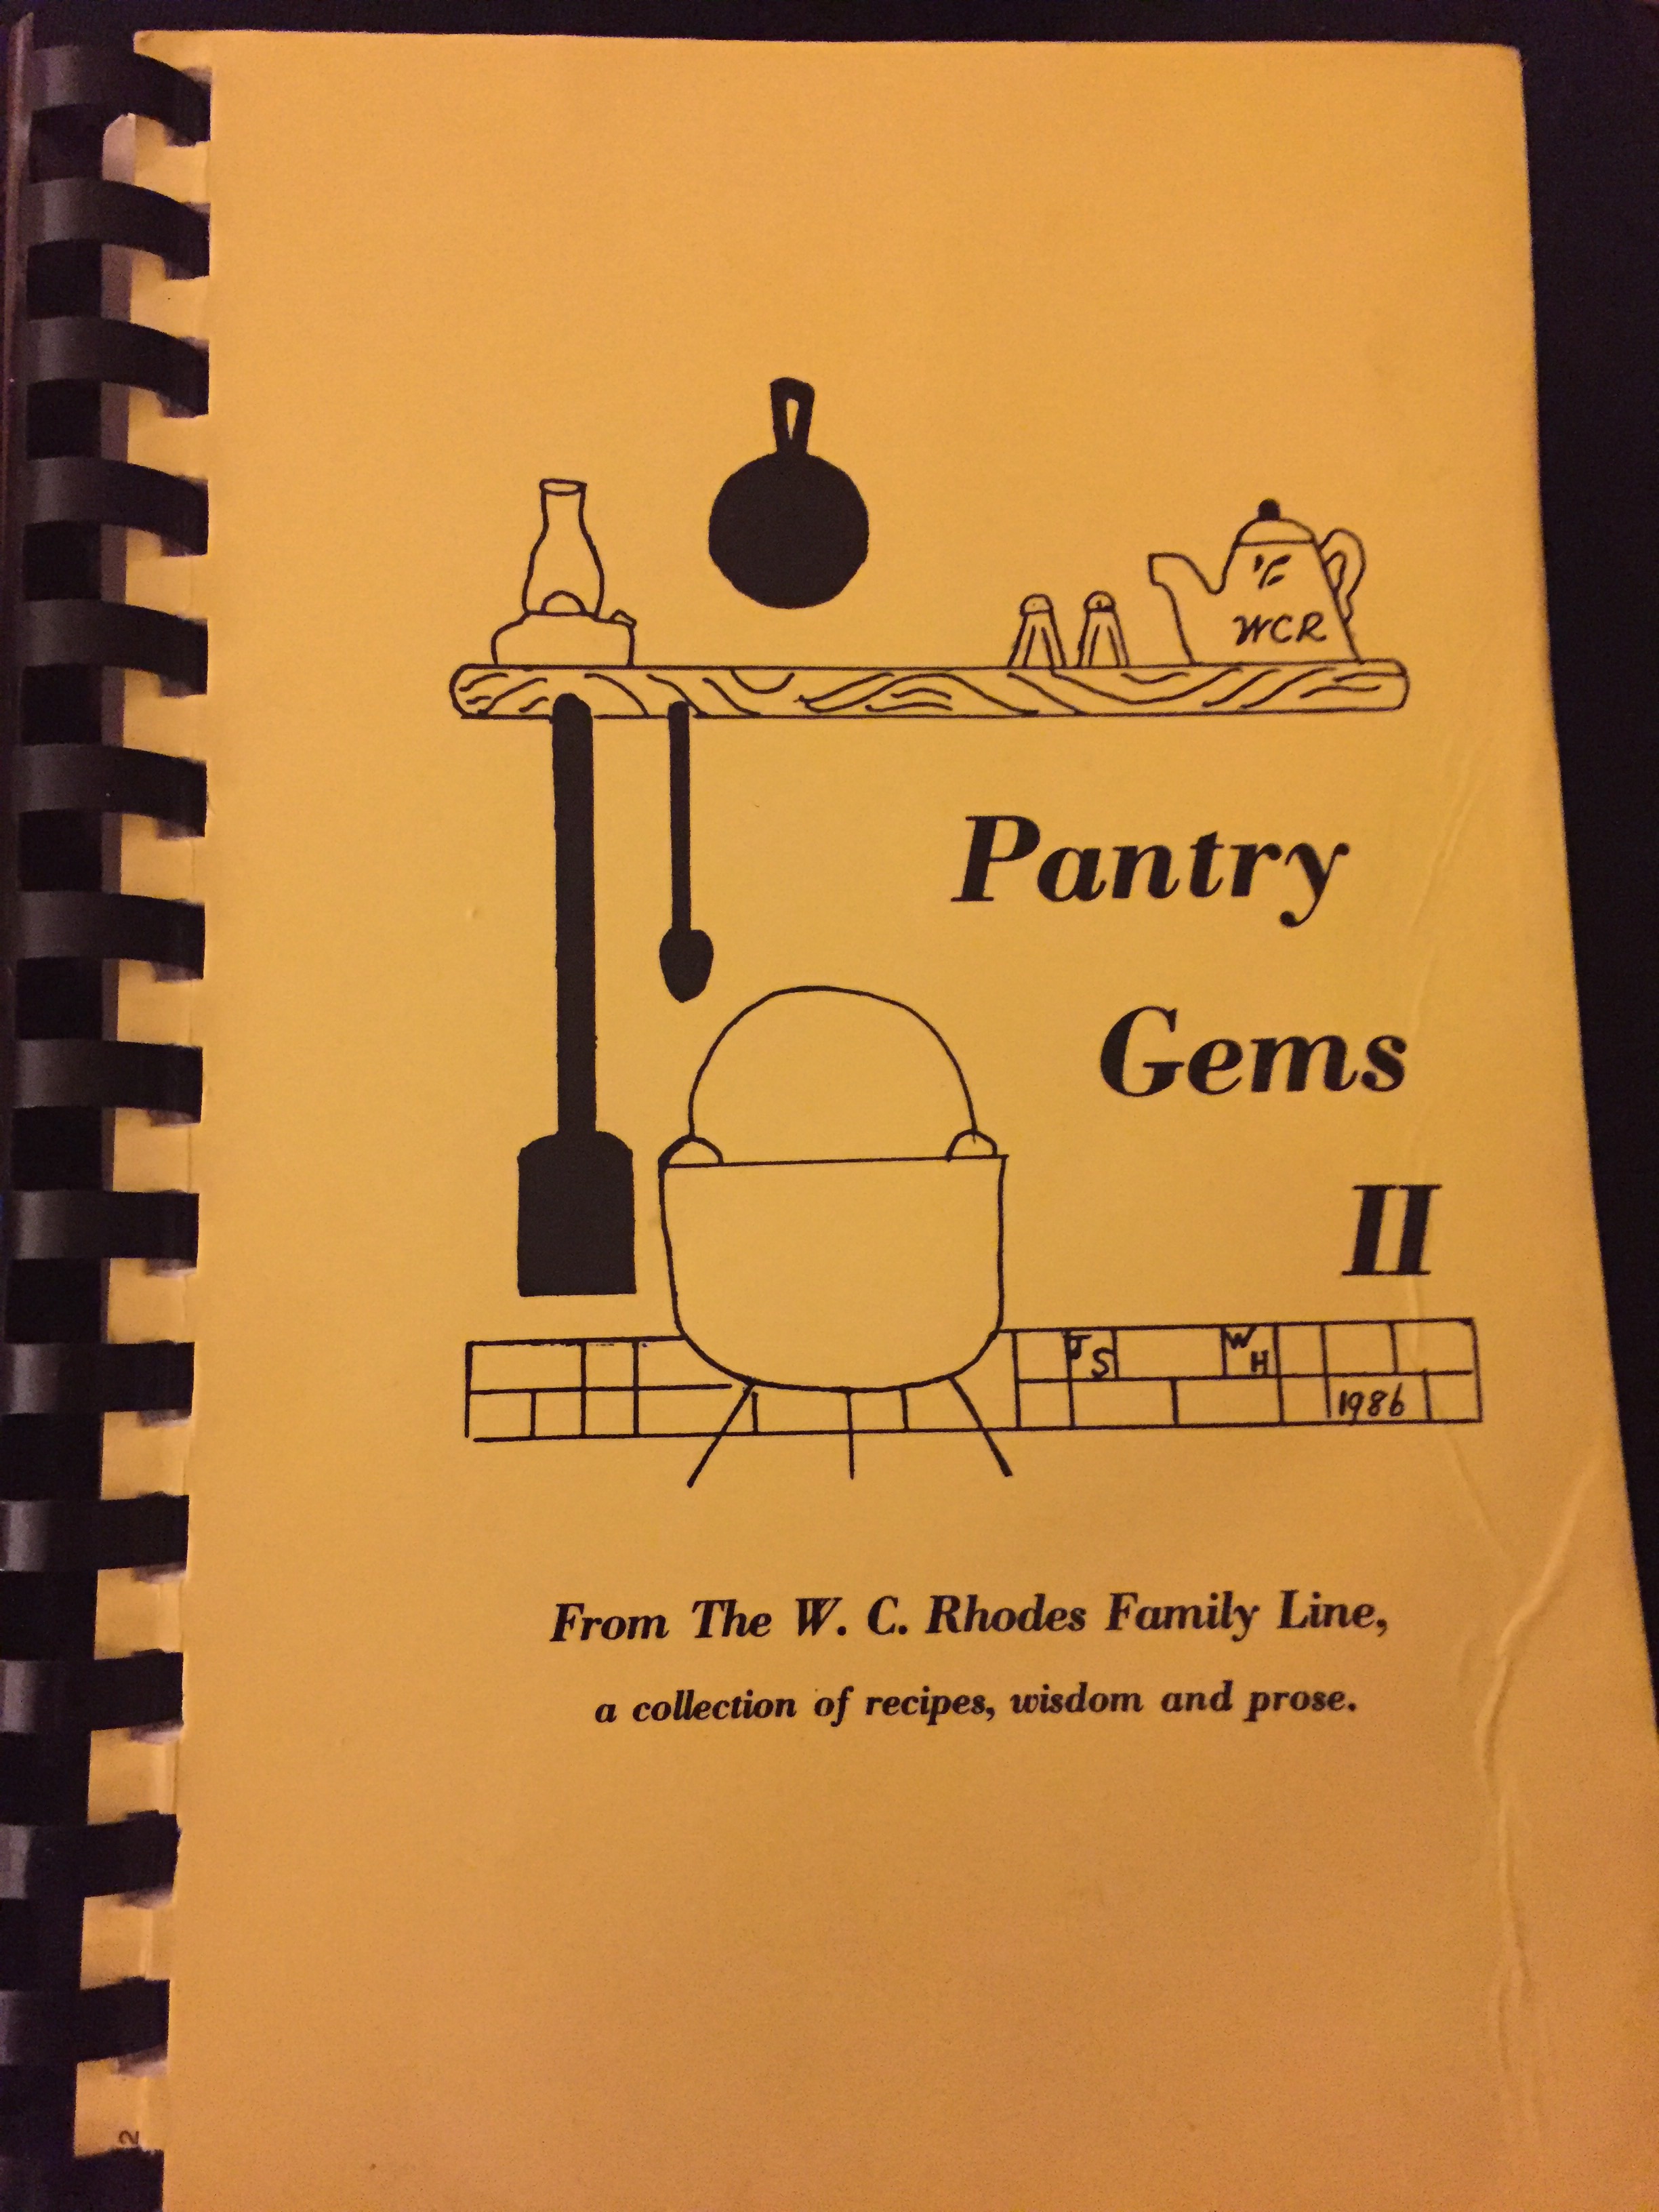
In this book, they are titled “Doughnuts II” and submitted by Janet Showalter. I will list the ingredients in steps so be sure to read and prepare well before starting the recipe. I will add pictures of the steps at the bottom of this post. This recipe will make anywhere from 120-135 doughnuts so cutting it in half or even fourths is a good idea if you don’t have plans to share. 🙂 Also, I personally don’t think they keep well. These are absolutely at their very best the day they are made.
Doughnuts
5 Tablespoons dry yeast (not instant)
1&1/2 cup warm water
1 Tablespoon sugar
Step 1: Mix these three ingredients together in a very large mixing bowl. The yeast will rise quickly while you prepare the following steps and you can use the same bowl you will combine the rest of the ingredients in.
Instant mashed potatoes
2 cups crisco
6 eggs
Step 2: Prepare instant mashed potatoes by using 3 cups water. Heat in microwave or on stove until hot. Add 2 cups instant potato flakes. Stir until well blended. Add the crisco and stir until melted and well blended. Add the eggs and stir well.
2 cups sugar
3 cups water (yes, this is additional from the yeast water above)
4&1/2 teaspoons salt
3 teaspoons nutmeg
1 Tablespoon lemon flavoring
1&1/2 Tablespoon vanilla flavoring
Step 3: Combine the yeast mixture from step one and the mashed potato mixture from step 2. Be sure your mixing bowl is very large! Add the sugar, additional water, nutmeg, and flavorings and stir well.
21 cups flour
Step 4: Add half of the flour and beat with a hand mixer as long as possible or mix well with hands. Continue to add flour and knead well until dough is smooth and elastic.
Step 5: Cover and let rise for 1&1/2 hours.
Step 6: At this point, pour a gallon of canola oil into a very deep electric skillet and turn on high to heat oil for frying.
Step 7: Punch down dough and tear off a manageably-sized piece to roll out. Roll dough about 3/8 inch thick.
Step 8: I’m making this it’s own step because it is so vital! Once you’ve rolled the dough, pick up the edges and let it relax back into place. Otherwise your doughnuts will be stretched out and oddly shaped.
Step 9: Cut out the doughnuts and let rise for 1/2 hour.
Pay close attention to how you arrange the cut doughnuts on your surface to rise again. You will want to start frying the first ones you cut and move through to the last so they al have adequate time to rise.
Step 10: Make glaze by placing 2 pounds of confectioners sugar in a bowl. It is best to have a bowl that a wooden spoon can rest across the top. Add just enough water to the sugar to melt and make into a semi-thick glaze. Add your choice of flavoring, lemon, vanilla, or maple. Then add 2-3 Tablespoons corn syrup. Stir well and set aside until time to glaze. (I had to make this twice today for one batch of doughnuts so be sure to have 4 pounds of confectioners sugar on hand!)
Step 11: Test one doughnut in the grease first, to make sure it is the right temperature. If not hot enough, the doughnut will soak up too much grease. If too hot, the outsides will brown before the inside is done. Each skillet is different, but I had mine between high and sear the whole time to maintain the right temp.
Also! When you place the doughnut in the grease, drop it in the skillet with the puffy side down. The side that was against the table while rising should be up to start the frying process. This will allow the other side to puff up too.
Step 12: Fry until golden brown on both sides, flipping with a narrow fork.
Step 13: Place fried doughnuts in a metal colander.
Step 14: Immediately take doughnuts one at a time from the colander and drop into glaze. Cover well all over and place on the handle of the wooden spoon across the glazing bowl. Repeat with as many doughnuts as fits on the handle and leave until the glaze stops dripping. Place onto a cookie sheet.
Repeat the frying and glazing until finished.
Enjoy!
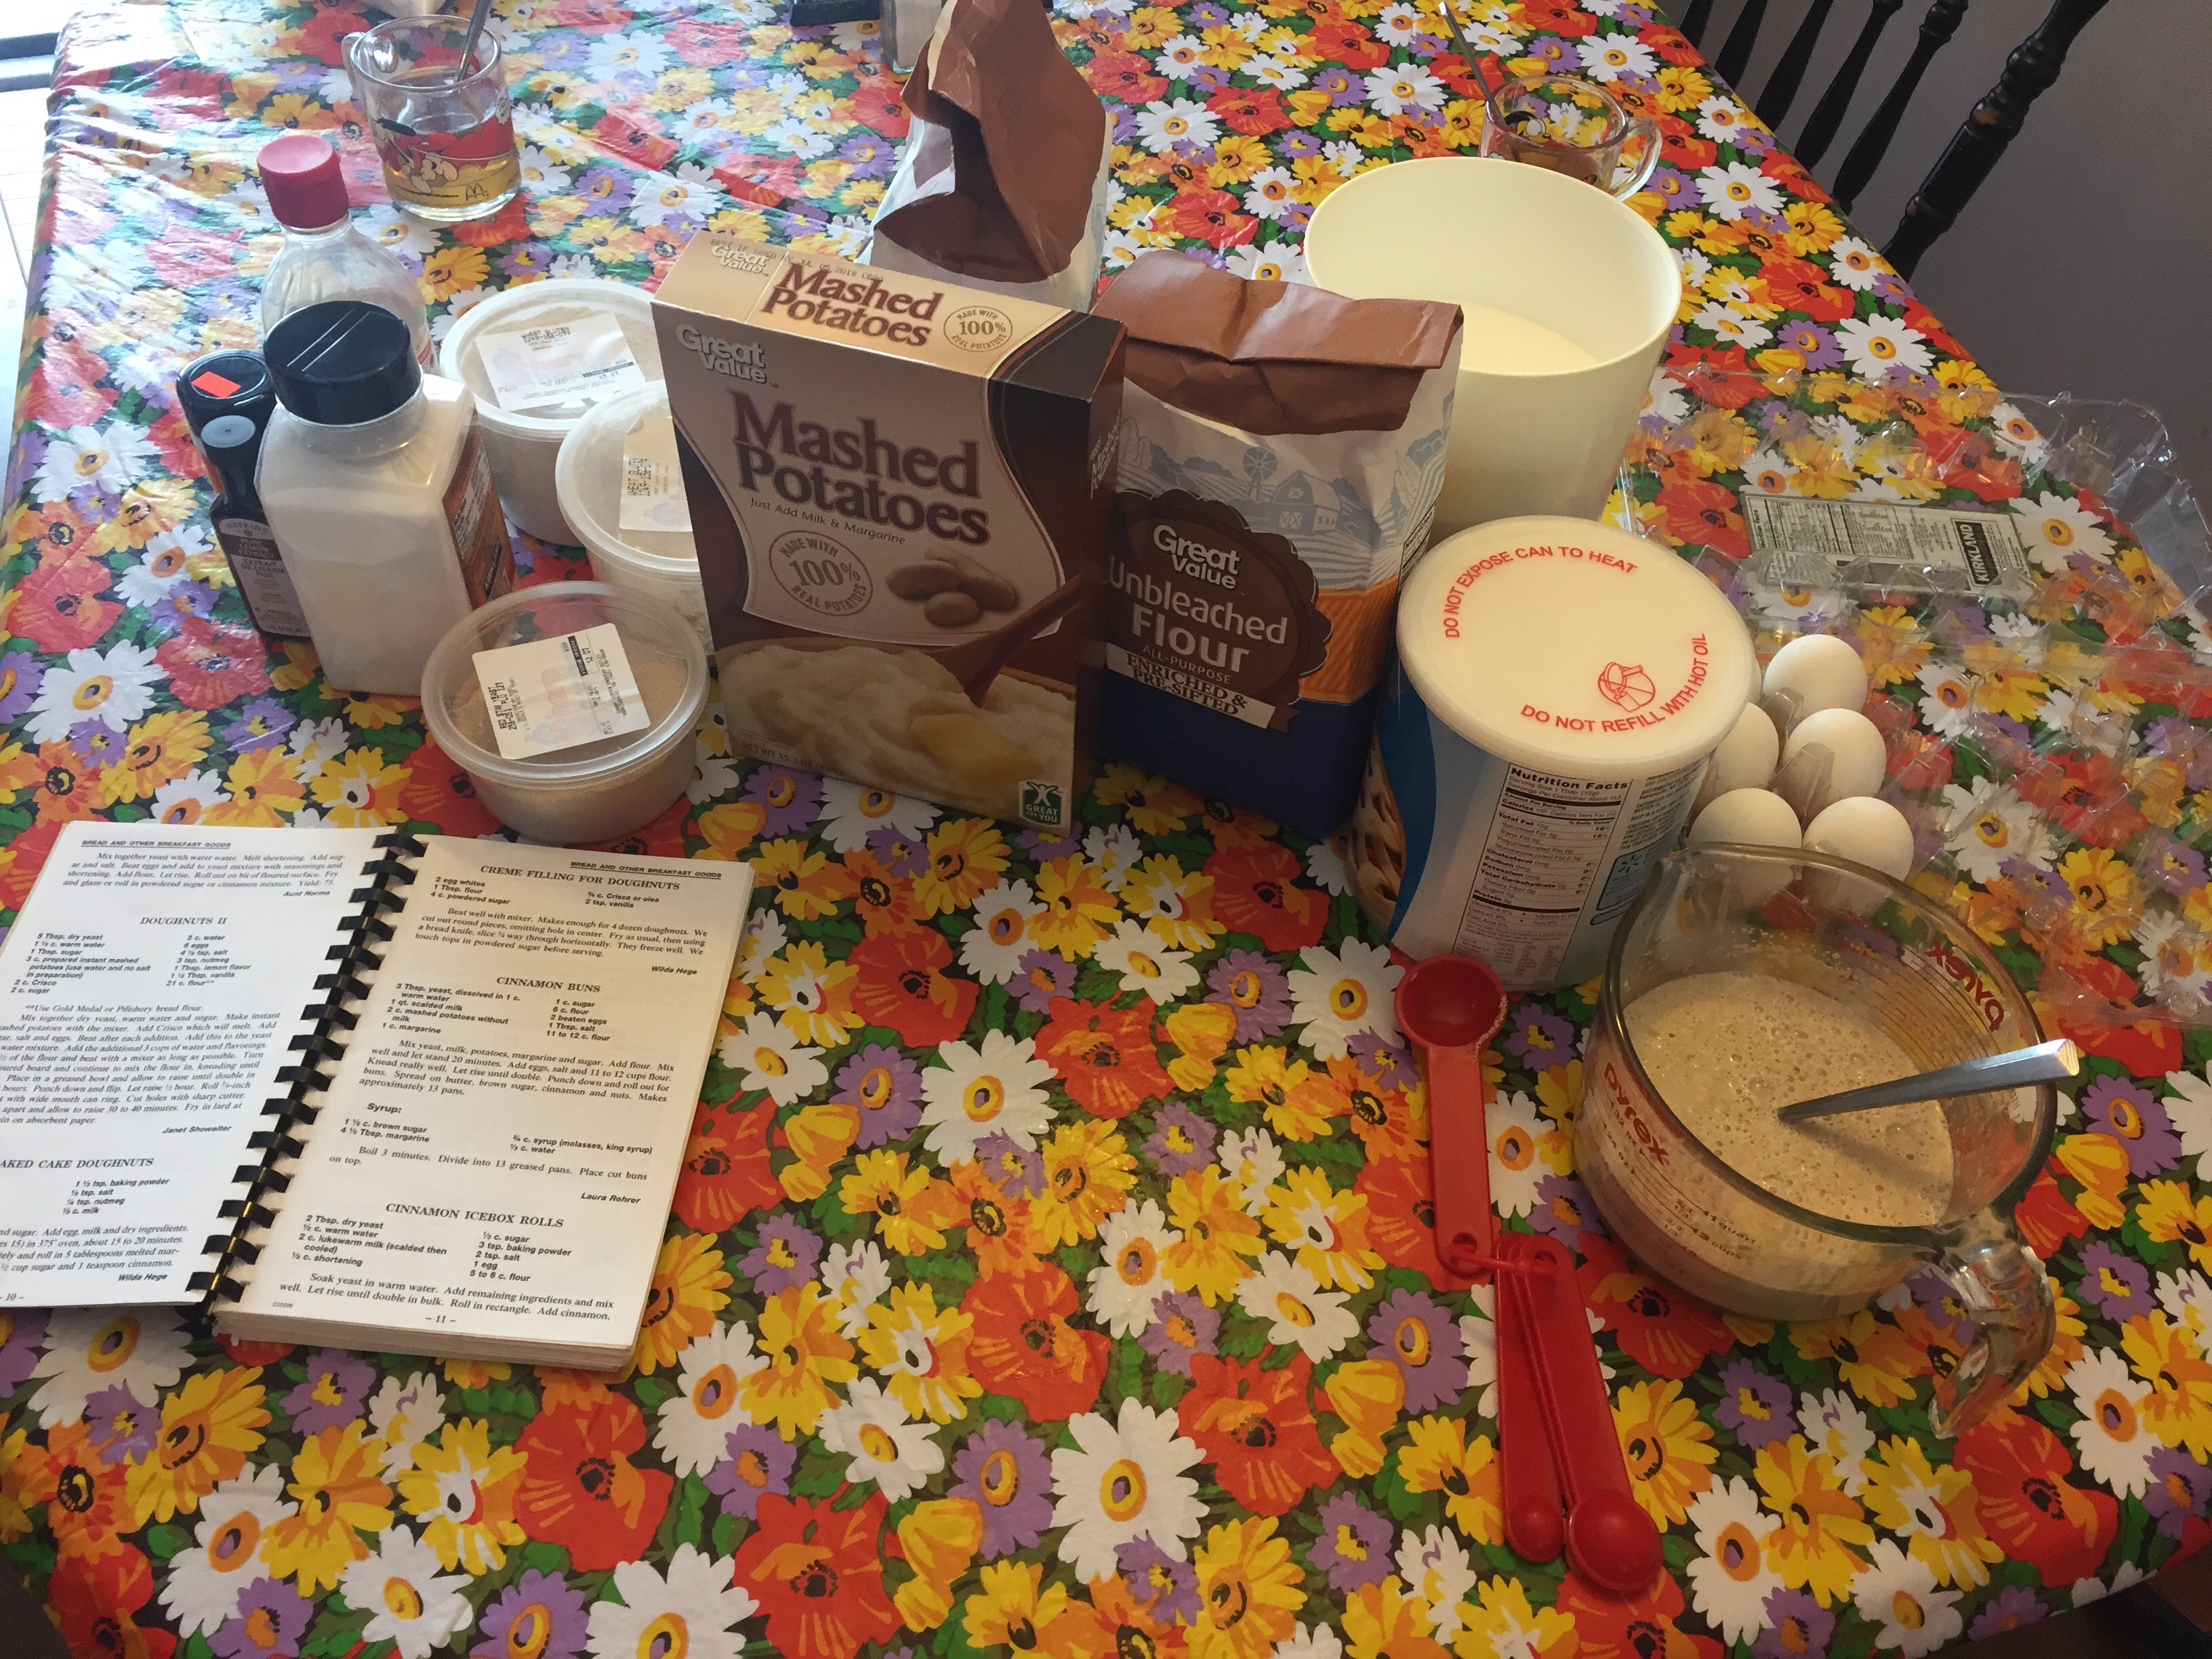
Ingredients gathered and ready.
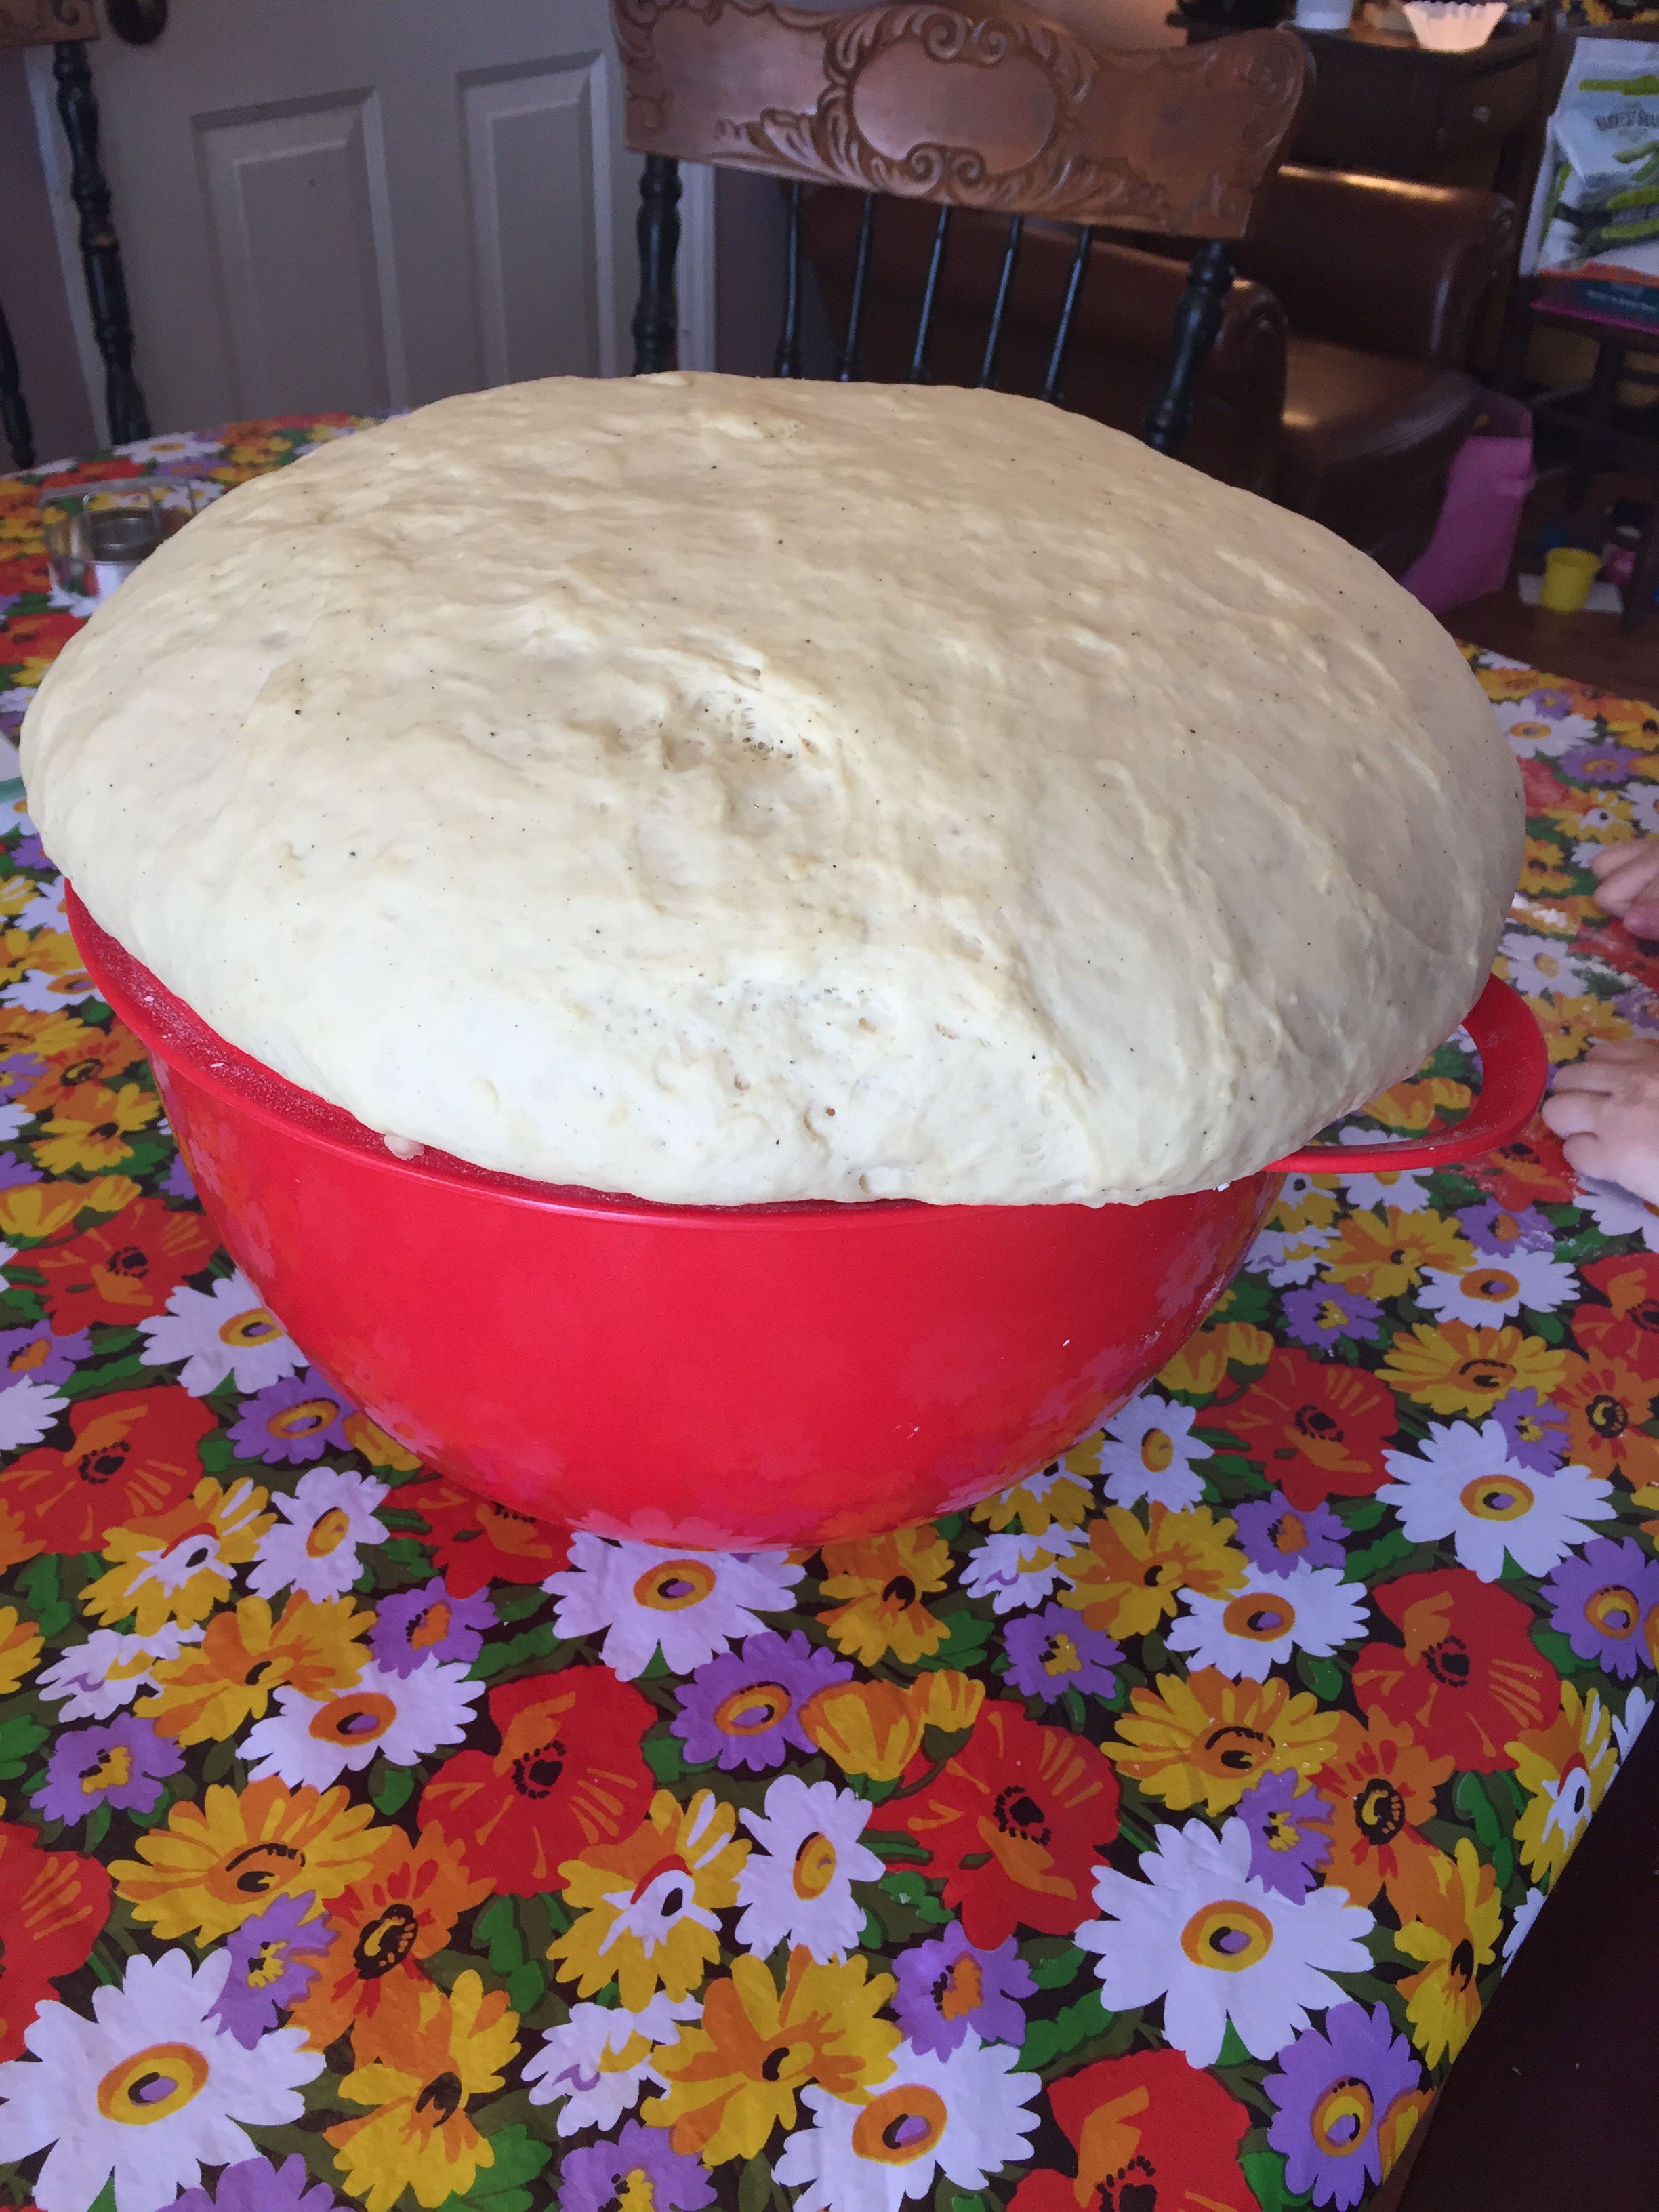
Dough rising well above the top of the bowl.

I gave the kids each a piece of dough to play with.

All rolled out.


Don’t fill the skillet too full so the doughnuts have room to puff out in the skillet.


Wow. This feels huge. Sharing this is as personal as some of the most intimate and tender details of my heart; a piece of my childhood.
